You are Hopes’ extensive Guide to Tracks
This is a step to step guide on building a track-system. It’s easier to plan and finish a big project like this knowing what is possible and what is needed. Feel free to comment any further questions or info and I’ll try to incorporate it.
1. Think about it
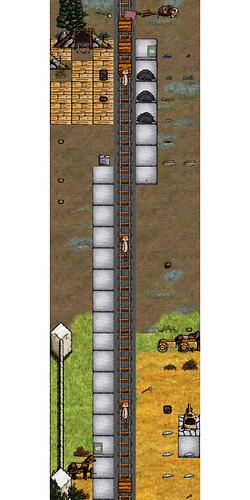
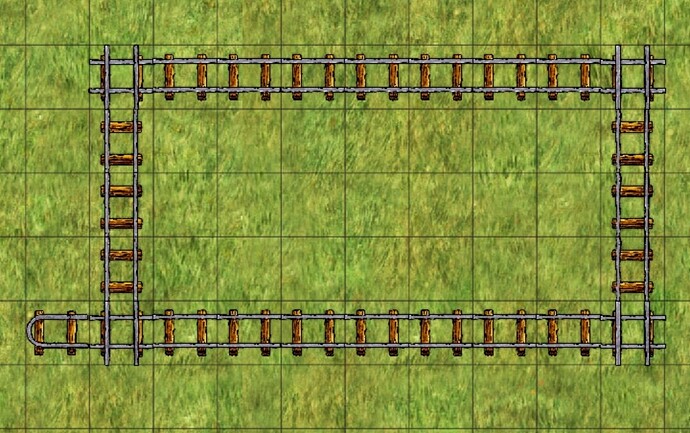
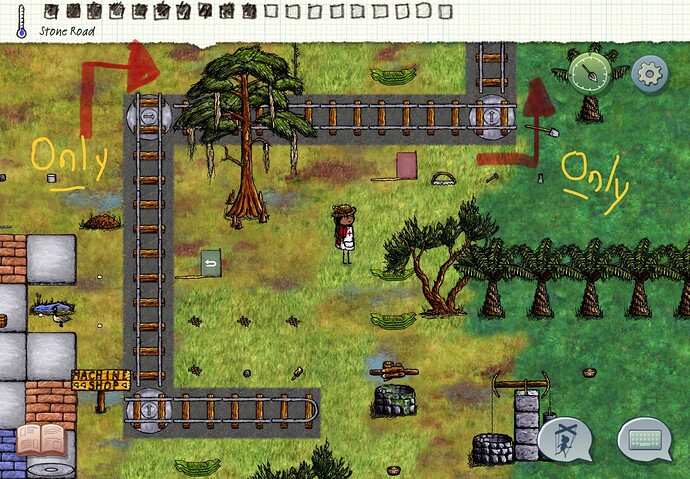
Do you need a track? The speed is one tiles per second. 1 cart has 4 slots. They can not be upgraded. Building them takes up a lot of resources - iron as well as wood. Tracks with corners will only function one way without you stepping in and changing the turntables manually. In most cases, a horse-carriage is more useful to transport stuff. However, if you use the same route a lot, tracks are nice to have. They won’t run away and get lost like lose horses and are immune to snakebites lol. The move slowly but independently, which allows you to do other things in the meantime. They also don’t decay (as far as i know). They are not as useful as you might think, but a fun addition to any advanced city!
2. Mining
To build a track, you will need to build a gravel path first. You get gravel from mining. Either start from a bear cave or a vein. You will also need loads of iron for the tracks, so it makes sense to use your tools wisely and not waste any material. Sadly there seems to be no guide for mining yet, so maybe we can work on that next.
3. Gravel Paths
Build gravel paths by putting square floor stakes in the ground, dig out 1 basketful of dirt, then fill the hole with gravel (a basket is full when picking up 3 small gravel piles). The dirt will vanish after a while - so if you plan on using it for cobblestone-pavement, don’t wait to long. Also, don’t pre-dig the path when you don’t have the gravel yet: The holes will fill too. And you will not get the stakes back after putting the gravel down, so… you will need a lot of them.
◌ Optional: Turntables
If for any reason you need to have your track go around corners, you can use turntables. They will allow you manually change the direction of the tracks by 45 degree. @Quartermoon made an excellent guide to this in the comments that explains everything in detail! I just summed it up here for the sake of completeness: Place a “Big Plate” on top of the gravel. It’s made from one steel-ingot, that needs to be heated up and put under the firing Newcomen hammer 5 times. In the next step, you will have to add a steel-spring on top. Next add a small pulley (one hot steel ingot under the newcomen hammer twice). You can change the direction of the turntable by placing a chisel ontop and hitting it with a smithing hammer. Swipe a track kit on the turntable base, and it’s ready to use!
4. Stake out the route
Swipe the stakes on the gravel - It will look the same as simply dropping them on gravel and the book can’t differentiate either (might be a bug @Christoffer ?) but otherwise you won’t be able to hit them with a mallet in the next step. Hit once for horizontal, twice for vertical stakes. Those will create track-segments that are open to both opposing sites. Hit the stakes 3 times to create a cross-section. Hit the stakes 4 to 7 times to create track-ends. Track ends are rounded off on one side and can not be extended in that direction, thus will make the cart stop. You’re going to want to connect two opposite track-ends in a consistent line.
5. Build the tracks
Swipe a track kit (wooden boards + steel blade) onto the track-stakes. They will turn into tracks, corresponding to the type of stakes you put down. If you make a mistake, they can be removed by swiping a steel mining pick on them. Make sure there are no gaps in-between before you take the next step!
6. Go!
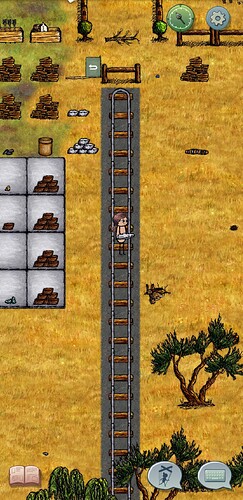
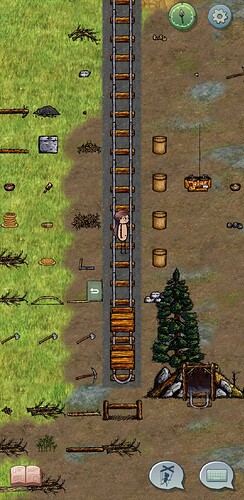
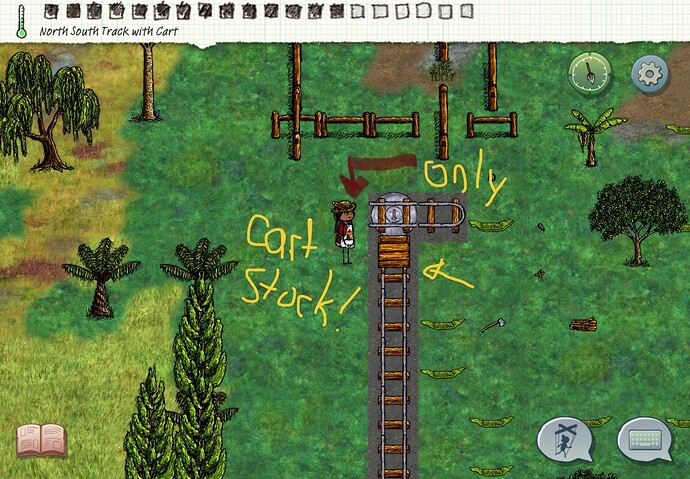
Now you are ready to add the carts! Take a track-cart kit (wooden boards + 4 wooden wheels + spring) and place it on a track end! It will magically transform into a cart and start moving along the tracks once you tap it. Pack the cart by swiping items onto the cart like you would with a basket. There are 4 slots per kit! You can have multiple carts on one track, but they will get stuck and not be as easily reactivated by just tapping. You will need a return flag, see next step!
7. Turn around!
Every now and then i get a little bit lonely. But nvm, to make your carts turn around and move in the opposite direction, build a green flag. Swipe one stake onto a yew shaft. Next, swipe 1 green cloth onto the upright square angle that you created. Getting green cloth is a whole process in itself that involves killing a cow, i won’t get into detail here, but you can see it here. So voilà, a white arrow appears magically on the cute flag that you’ve created and it’s ready to use. When holding it, swipe onto the cart you want to send on its way.
8. Stop!
Use a red flag to stop a cart immediately! This can be useful to prevent it from crashing onto unfinished segments and become stuck, or to have extra stops in-between track-ends. Swipe one stake onto a yew shaft. Next, swipe 1 red cloth onto the upright square angle that you created. To create red cloth, have a look at the recipe. After this, the flag is ready to use. Place it on the tracks wherever you want a cart to stop by swiping it into position. It will stand upright and prevent any moving cart from passing. Remove it by tapping and all carts should continue in their original direction.
